The following software extraction procedure must be performed for standalone PMOD installations, for PMOD servers, and also for all PMOD network clients.
Please begin by inserting the PMOD installation flash memory stick. Then start the installer by starting the RunSetup.bat in the Setup/Windows directory on the memory stick by double-clicking. The following installation screen appears
Please use Next to proceed and accept the license agreement in the appearing dialog window. After activating Next the window for configuring the installation appears.
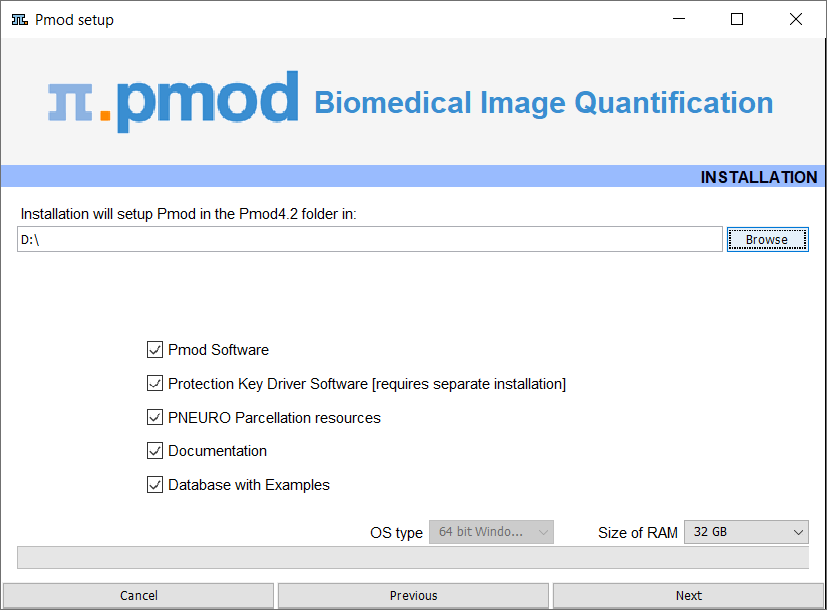
Please perform the following configurations:
Installation Path
Use the Browse button to select the parent directory for the installation. There, the installer will create a new directory Pmod4.2 for the program files and the data. Please make sure that 4.3GB of free space is available for the full package.
Packages
It is highly recommended to install the four packages, the Pmod Software, the Protection Key Driver Software, the Documentation, and the Database with Examples. The Database with Examples requires about 970MB and will show up as database called Demo. This database will allow getting acquainted with the programs because it contains examples for the different types of data analysis. Note, however, that it is recommended establishing an new database externally to PMOD for productive data processing. The PNEURO Parcellation resources, should only be enabled, if the PNEURO tool has been licensed, as the required space is 350MB. The R Project for Statistical Computing option extracts the installer of a version of R which is proven to work with the scripts developed by PMOD.
Properties of Operating System and RAM
The operating system of your target computer needs to be 64-Bit. Size of RAM can be set to any size. However, if the specified size exceeds the physical RAM, the system will start swapping after RAM space is exhausted and will become very slow. Therefore it is recommended setting Size of RAM < physical RAM.
Installation of the PMOD Environment
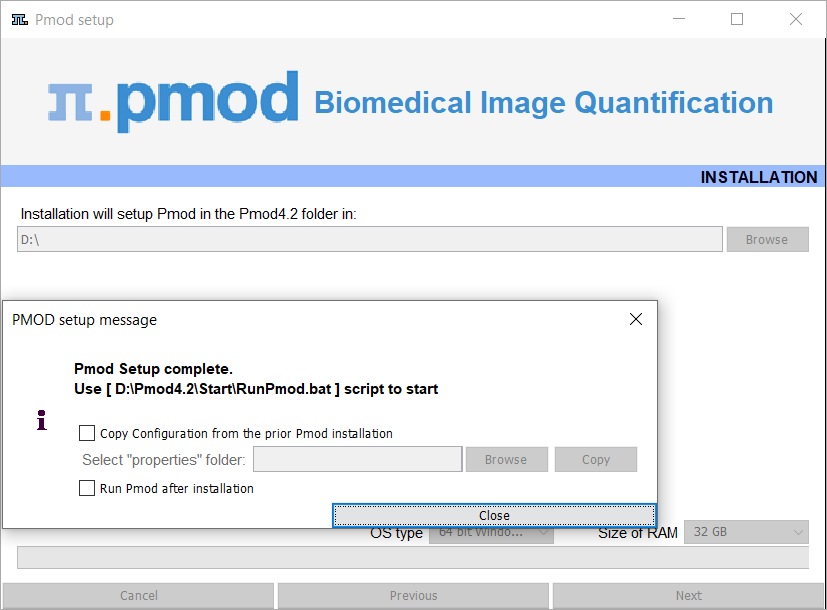
The installation is started by the Install button. The Pmod4.2 directory is created wherein all PMOD-related files are extracted. At the end of the installation a dialog window is shown. It indicates the command script for starting Pmod4.2. If this is the first PMOD installation, Close the window.
If a prior PMOD version has been used already, it is recommended importing its working environment. To this end, activate Copy Configuration ... and select the properties folder of your prior PMOD installation with the Browse button. Then activate Copy to import the setting, and Close the window.
Installation without User Interface
There is a silent installation which doesn't bring up an interactive user interface. It can be started by opening a command window and typing the following commands in. It is assumed that F is the mount point of the installation flash memory stick and D:/tmp the directory within which PMOD is installed
F:
cd pmod
..\java\Windows\jre\bin\java -jar setup.jar -silent D:/tmp
The installation will use default settings, and edition of the starting script will be needed to adjust the RAM allocation.
Note: Although no graphical user interface is shown, a graphical subsystem must still be supported as a graphic context is created.