Image Display Selection
Per default, all the input MIPs as well as the fusion MIP are rotated. However, there is a choice in the lower left which allows showing subsets of these images.

|
Show the three input MIPs as well as the fusion MIP (default). |
|
Show only the three input MIPs. |
|
Show only the fusion MIP. |
Projection Calculation
Calculation of the configured projections is started with the ![]() button. After the calculation is completed, the rotation cine is immediately started.
button. After the calculation is completed, the rotation cine is immediately started.
Cine Controls
The direction of the cine, the speed and the behavior after a rotation can be configured with the usual cine control elements.
![]()
If any of the image presentation options is activated, the cine stops. However, in most cases a projection recalculation is not required, so the rotation can be simply restarted.
Maximizing the Display Area
In order to maximize the image area for watching the cine, the controls can be minimized with the show/hide taskbar button indicated below. They are recovered by activating the same button again.
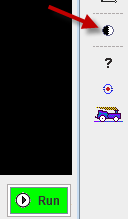
Movie Generation
In order to create a movie file, the ![]() button has to be activated and then the cine started. A dialog window is shown for configuring the movie format QuickTime, Animate GIF or DICOM.
button has to be activated and then the cine started. A dialog window is shown for configuring the movie format QuickTime, Animate GIF or DICOM.
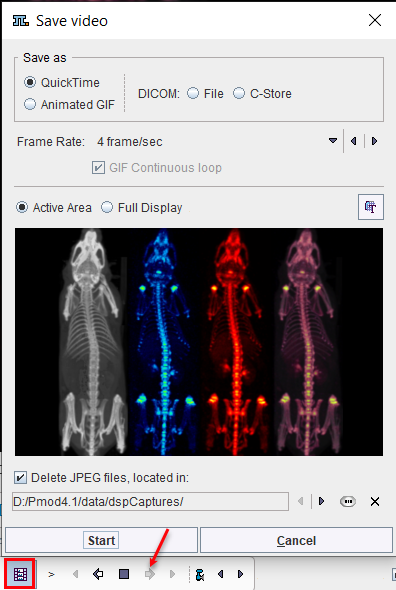
The movie will be assembled from JPEG files which are saved to a folder which is to be configured in the lower part. The JPEG images may be persistent, depending on the Delete JPEG files option.
After activating the Start button, the JPEG images corresponding to the different angles are written to disk and a dialog window opened defining a location and a name for the movie file.